Upgrading or replacing your PC's RAM (Random Access Memory) can breathe new life into your computer, improving its overall performance and responsiveness. Whether you're tackling resource-intensive tasks, such as video editing or gaming, or just seeking a faster multitasking experience, upgrading your RAM is a relatively straightforward process. Here's a step-by-step guide on how to upgrade or replace your PC's RAM.

1. Determine Your System's Compatibility:
Check your computer's specifications to identify the type and maximum capacity of RAM your motherboard supports.
Note the RAM type (DDR, DDR2, DDR3, or DDR4) and the maximum speed your system can accommodate.
2. Assess Your Current RAM Configuration:
Open the system information tool on your computer or use third-party software to determine your current RAM capacity, type, and speed.
Note the number of available RAM slots on your motherboard.
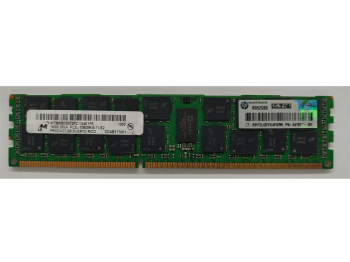
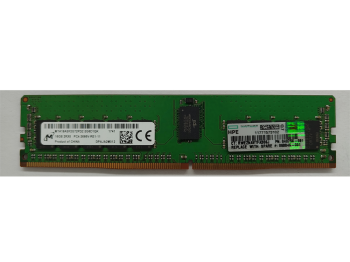
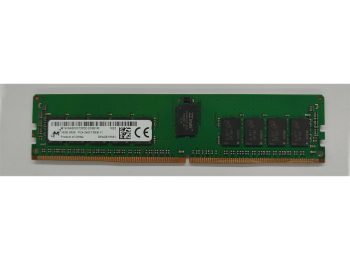
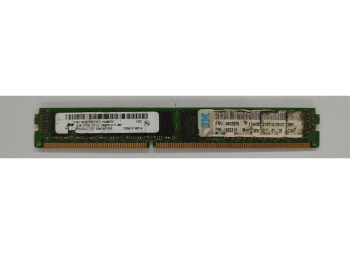
3. Choose the Right RAM:
Select RAM modules that match your system's specifications. Ensure they are of the correct type, speed, and capacity.
If possible, opt for RAM in pairs to take advantage of dual-channel configurations for enhanced performance.
4. Power Off and Unplug Your PC:
Shut down your computer and disconnect all peripheral devices.
Turn off the power supply and unplug the power cable to ensure safety during the upgrade process.
5. Open Your Computer Case:
Depending on your computer's design, locate and remove the side panel to access the internal components.
Ground yourself by touching a metal part of the computer case to discharge any static electricity.
6. Locate and Remove Existing RAM:
Identify the existing RAM modules on your motherboard.
Unlock the retention clips on either side of the RAM module and gently remove it by pulling it straight out.
7. Install the New RAM Modules:
Align the notches on the new RAM module with the notches on the RAM slot.
Gently press down on both ends of the module until the retention clips lock into place.
Repeat this process for additional modules if you are installing more than one.
8. Close Your Computer Case:
Once the new RAM modules are securely in place, close the computer case and secure the side panel.
Reconnect all peripheral devices and the power cable.
9. Power On Your Computer:
Turn on your computer and check the system information to verify that the new RAM has been detected.
Ensure the system recognizes the correct capacity and speed.
10. Test System Stability:
Run memory-intensive applications or benchmarks to ensure system stability.
Monitor the system's performance to confirm the impact of the RAM upgrade.
11. Troubleshooting:
If your system experiences issues after the upgrade, double-check that the RAM modules are properly seated and compatible with your motherboard.
Consider consulting your computer's user manual or seeking assistance from online forums or customer support.
Upgrading or replacing your PC's RAM is a rewarding process that can significantly enhance your computer's performance. By following these steps and exercising caution, you'll be well on your way to enjoying a faster and more responsive computing experience.